blog
Old and New
June 2, 2010
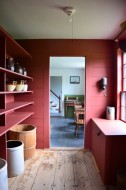
There is precious history woven into the fabric of an old home. Though we prefer to keep as much original material as possible, total preservation is not always practical or economical. This is often a sad reality while working on antique buildings. Renovation, even at its best, requires a little bit of letting go.
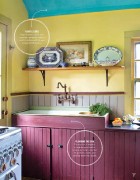
In 13 years, working on antique homes, I've learned to hope for the best, but expect the worst. Our current kitchen renovation is no different. The plaster walls were not sound or repairable - held together mostly by wallpaper and chopped up with wallboard repairs – they simply had to go. It also made sense to take down the lath to open up exterior walls, so they could be properly insulated (another layer of plaster and lath on the inside of the outside wall, woefully served this purpose originally). Acoustical tile covered the early ceiling, which was cracked, crumbling and about to come down.
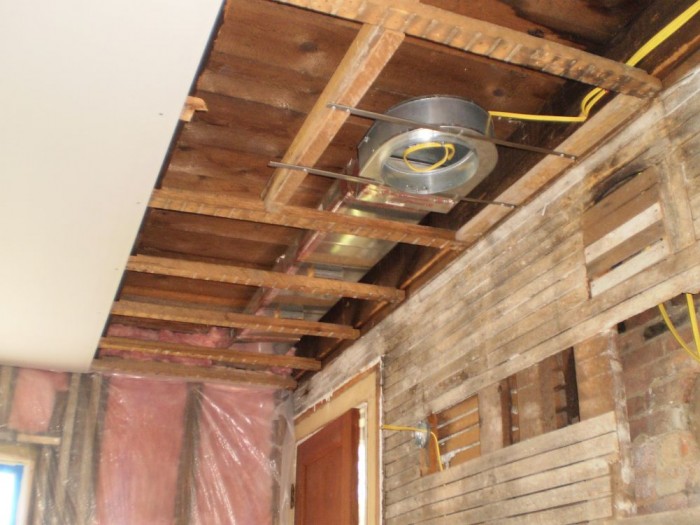
Besides these 'realities' opening up the walls and ceiling makes updating for modern services like plumbing and electric much easier. We wanted to install a ventilating fan, new lighting and bring the room up to code. During this process we discovered hiding in the ceiling, "hot" knob & tube wiring dating from the turn of the last century (and a potential danger), that had to be replaced.
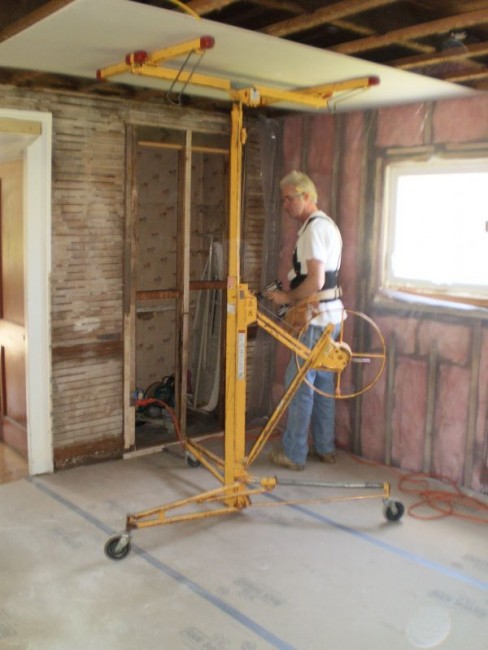
The budget did not allow for a faithful recreation of our plaster walls - we had to rely on sheetrock and work some magic to get the right look in the final product. Merging new techniques with old work does present its challenges.
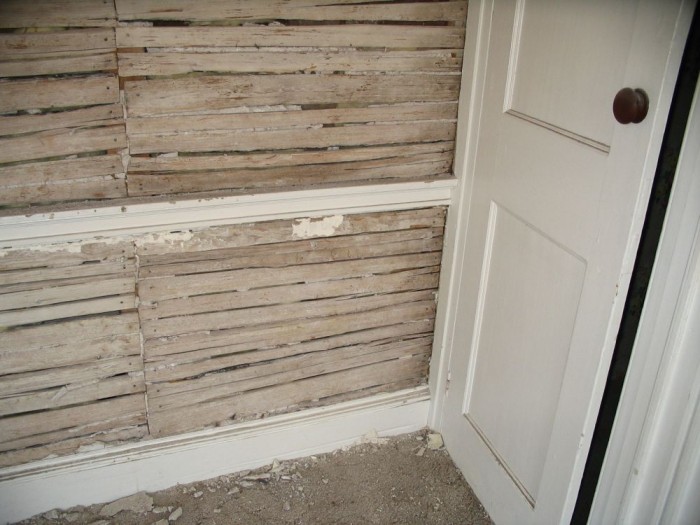
In modern construction the trim is installed after the sheetrock, tape and spackle (on top). In the days of lath and plaster, things were done a little different. Once the stud-walls were in place the lath would go up; then door, windows, base and chair-rail trims and finally the plaster (side by side with the trim).
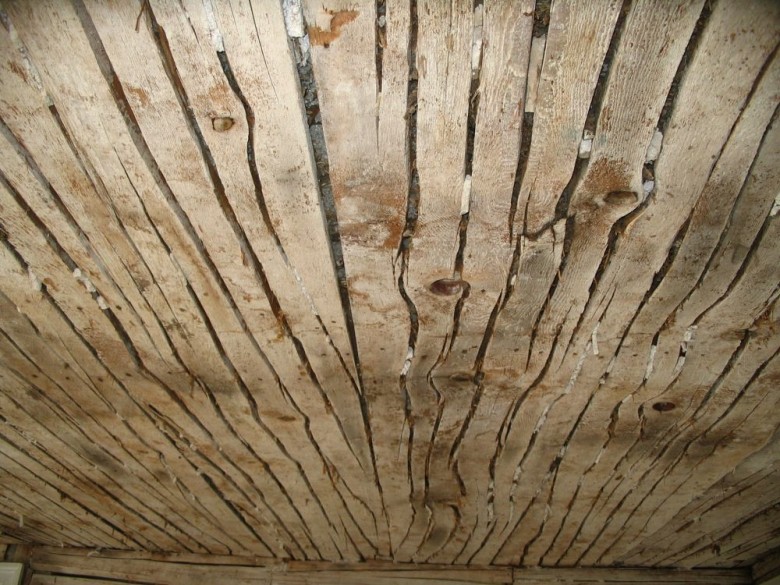
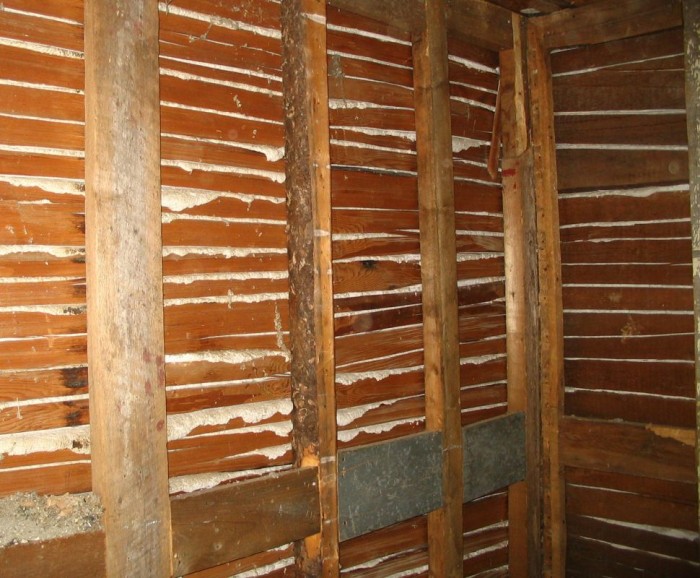
In the earliest part of this house it was 'accordion lath,' (a primitive form) where a wide board was nailed to the wall, split and spread, then nailed again. It was split and nailed numerous times until the whole board was attached. This process was continued until the entire wall or ceiling was covered. Our kitchen was a later, mid 19th century addition. Strips of lath (cut at a local water powered lath mill) were installed one at a time. Once the trim was in place - it was on to the plaster. First a scratch coat to 'key' (actually lock) it into the lath, then the brown coat mixed with a little horse hair (for strength) and finally a nice smooth finish.
Now day's studs and joists are spaced 16" on center. This old cape was built prior to such standards. Though a level was generally indispensible, a carpenter was more likely to 'eye it up' then use a tape measure. Ceiling joists of heavy (band saw cut) timber were close to 30" apart. Strapping held the lath. Studs that were not meant for support were random. On a modified post and beam structure they were a place to attach lath. In the old days, uneven walls were not a problem for a skilled plasterer; he could make up the difference with 'mud.' Sheetrock in rigid (4x8) sheets is not nearly so forgiving.
You wouldn't be working on old homes if you didn't 'love' the process of melding new and old. Sometimes though it's a little like putting a round peg into a square hole.
(click photo to view larger image)
|
|
|
|
(comments = 1)
I'd like to use that great picture of the split board lath ceiling in a lecture on dating buildings. is that OK? Can you tell me the age of that part of the house?
thanks
leave a comment

fineartistmade blog
A journal about home design, gardening, art & all things Maine. Read more...
- December 2022
- November 2022
- October 2022
- November 2021
- May 2020
- October 2019
- August 2019
- July 2019
- September 2018
- April 2018
- December 2017
- August 2017
- June 2017
- May 2017
- December 2016
- August 2016
- July 2016
- April 2016
- November 2015
- June 2015
- May 2015
- March 2015
- October 2014
- March 2014
- February 2014
- January 2014
- December 2013
- November 2013
- July 2013
- May 2013
- April 2013
- March 2013
- January 2013
- December 2012
- November 2012
- August 2012
- June 2012
- April 2012
- March 2012
- February 2012
- January 2012
- December 2011
- October 2011
- August 2011
- July 2011
- June 2011
- May 2011
- April 2011
- March 2011
- February 2011
- January 2011
- December 2010
- November 2010
- October 2010
- September 2010
- August 2010
- July 2010
- June 2010
- May 2010
- My Scandinavian Home
- Daytonian in Manhattan
- {frolic!}
- I Married An Irish Farmer
- Smitten Kitchen
- The Curated House
- even*cleveland
- Mary Swenson | a scrapbook
- Ill Seen, Ill Said
- Gross & Daley Photography
- Remodelista
- Abby Goes Design Scouting
- Mint
- the marion house book
- 3191 Miles Apart
- Svatava
- Katy Elliott
- Poppytalk
- Kiosk
- decor8
- KBCULTURE
- Lari Washburn